


A grow controller is an essential tool for modern indoor gardening enthusiasts and commercial growers alike. It allows for precise control of environmental factors such as light, temperature, humidity, and nutrient levels, ensuring optimal growing conditions for plants. However, like any piece of equipment, a grow controller requires regular cleaning and maintenance to function at its best. In this blog post, I'll share the best way to clean a grow controller, based on my experience as a grow controller supplier.
Why Cleaning Your Grow Controller is Important
Before diving into the cleaning process, it's important to understand why keeping your grow controller clean is crucial. Over time, dust, dirt, and debris can accumulate on the surface and inside the controller, which can lead to several issues. Firstly, dust can act as an insulator, causing the controller to overheat. This can not only reduce the lifespan of the internal components but also affect the accuracy of the sensors and controls. Secondly, dirt and debris can interfere with the electrical connections, leading to malfunctions or inaccurate readings. Finally, a dirty controller can be a breeding ground for bacteria and mold, which can contaminate your growing environment and harm your plants.
Preparing for Cleaning
Before you start cleaning your grow controller, it's important to take a few precautions to ensure your safety and prevent damage to the equipment. Here's what you'll need to do:
- Power off the controller: Before you begin cleaning, make sure to turn off the grow controller and unplug it from the power source. This will prevent any electrical shocks or damage to the equipment.
- Gather your cleaning supplies: You'll need a few basic cleaning supplies, including a soft, lint-free cloth, a can of compressed air, a mild cleaning solution (such as a mixture of water and mild dish soap), and a small brush (such as a toothbrush).
- Remove any accessories: If your grow controller has any removable accessories, such as sensors or cables, remove them before cleaning. This will make it easier to clean the controller and prevent damage to the accessories.
Cleaning the Exterior
The first step in cleaning your grow controller is to clean the exterior. Here's how to do it:
- Use compressed air to remove loose dust: Start by using a can of compressed air to blow away any loose dust and debris from the surface of the controller. Hold the can of compressed air about 6 inches away from the controller and use short, quick bursts to remove the dust. Pay special attention to the vents and openings, as these are areas where dust tends to accumulate.
- Wipe the surface with a damp cloth: Once you've removed the loose dust, dampen a soft, lint-free cloth with a mild cleaning solution. Wring out the cloth so that it's not dripping wet, and then gently wipe the surface of the controller. Avoid getting the cloth too wet, as this can damage the internal components. Pay special attention to any areas that are particularly dirty or sticky.
- Dry the surface with a clean cloth: After you've wiped the surface of the controller, use a clean, dry cloth to dry it off. Make sure to remove any excess moisture, as this can cause corrosion or damage to the equipment.
Cleaning the Interior
Cleaning the interior of your grow controller is a bit more involved than cleaning the exterior, but it's just as important. Here's how to do it:
- Open the controller: If your grow controller has a removable cover or panel, carefully remove it to access the interior. Make sure to keep track of any screws or other small parts that you remove, as you'll need to put them back in place later.
- Use compressed air to remove dust: Once you've opened the controller, use a can of compressed air to blow away any dust and debris from the internal components. Hold the can of compressed air about 6 inches away from the components and use short, quick bursts to remove the dust. Pay special attention to the circuit boards, fans, and other sensitive components.
- Clean the components with a small brush: After you've removed the loose dust, use a small brush (such as a toothbrush) to gently clean the internal components. Be careful not to apply too much pressure, as this can damage the components. Pay special attention to any areas that are particularly dirty or sticky.
- Wipe the components with a damp cloth: Once you've cleaned the components with the brush, dampen a soft, lint-free cloth with a mild cleaning solution. Wring out the cloth so that it's not dripping wet, and then gently wipe the components. Avoid getting the cloth too wet, as this can damage the internal components. Pay special attention to any areas that are particularly dirty or sticky.
- Dry the components with a clean cloth: After you've wiped the components with the damp cloth, use a clean, dry cloth to dry them off. Make sure to remove any excess moisture, as this can cause corrosion or damage to the equipment.
- Reassemble the controller: Once you've cleaned and dried the internal components, carefully reassemble the controller. Make sure to put all the screws and other small parts back in place, and make sure that the cover or panel is securely attached.
Cleaning the Sensors and Cables
In addition to cleaning the controller itself, it's also important to clean the sensors and cables that are connected to it. Here's how to do it:
- Clean the sensors: If your grow controller has sensors, such as temperature or humidity sensors, use a soft, lint-free cloth to gently wipe the sensors. Avoid using any harsh chemicals or abrasive materials, as this can damage the sensors. If the sensors are particularly dirty, you can use a mild cleaning solution (such as a mixture of water and mild dish soap) to clean them. Make sure to dry the sensors thoroughly before reconnecting them to the controller.
- Clean the cables: If your grow controller has cables, such as power cables or sensor cables, use a soft, lint-free cloth to gently wipe the cables. Avoid using any harsh chemicals or abrasive materials, as this can damage the cables. If the cables are particularly dirty, you can use a mild cleaning solution (such as a mixture of water and mild dish soap) to clean them. Make sure to dry the cables thoroughly before reconnecting them to the controller.
Maintaining Your Grow Controller
Once you've cleaned your grow controller, it's important to maintain it regularly to keep it in good working condition. Here are a few tips to help you maintain your grow controller:
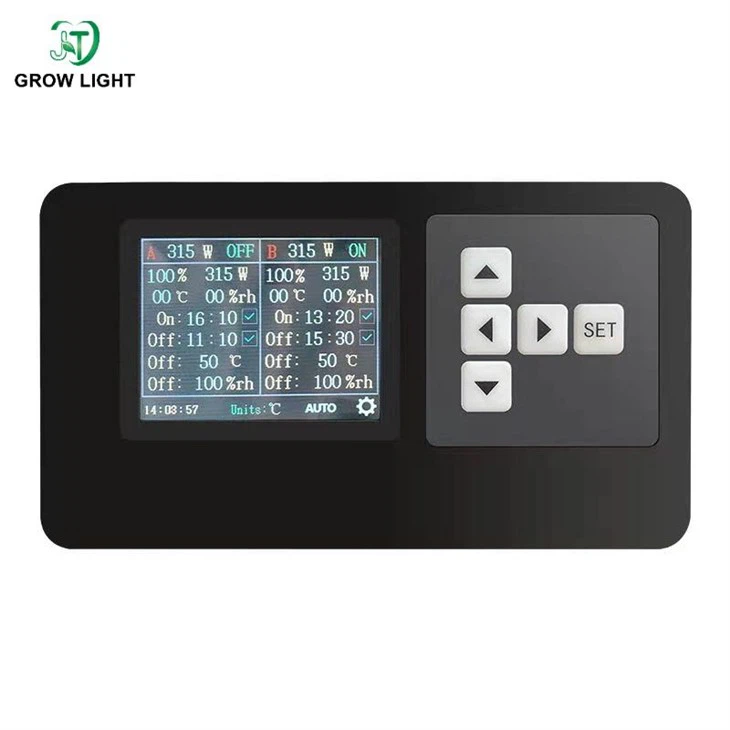

- Keep the controller clean: Regularly clean the exterior and interior of the controller to prevent dust and debris from accumulating.
- Check the sensors and cables: Regularly check the sensors and cables to make sure they are working properly and are not damaged.
- Calibrate the controller: If your grow controller has sensors, such as temperature or humidity sensors, make sure to calibrate them regularly to ensure accurate readings.
- Follow the manufacturer's instructions: Make sure to follow the manufacturer's instructions for cleaning and maintaining your grow controller. This will help you avoid damaging the equipment and ensure that it continues to work properly.
Conclusion
Cleaning your grow controller is an important part of maintaining it and ensuring that it continues to work properly. By following the steps outlined in this blog post, you can keep your grow controller clean and in good working condition for years to come. If you have any questions or need further assistance, please don't hesitate to contact us. We're a leading grow controller supplier, and we're always happy to help.
If you're interested in purchasing a grow controller, we offer a wide range of high-quality products, including the Controller For Dimmable LED Grow Lights, Smart LED Grow Lights Dimmer For Grow Room, and Smart LED Grow Light Controller. Contact us today to learn more about our products and to discuss your specific needs. We look forward to working with you!
References
- Manufacturer's instructions for your specific grow controller
- General knowledge of electronics cleaning and maintenance


